
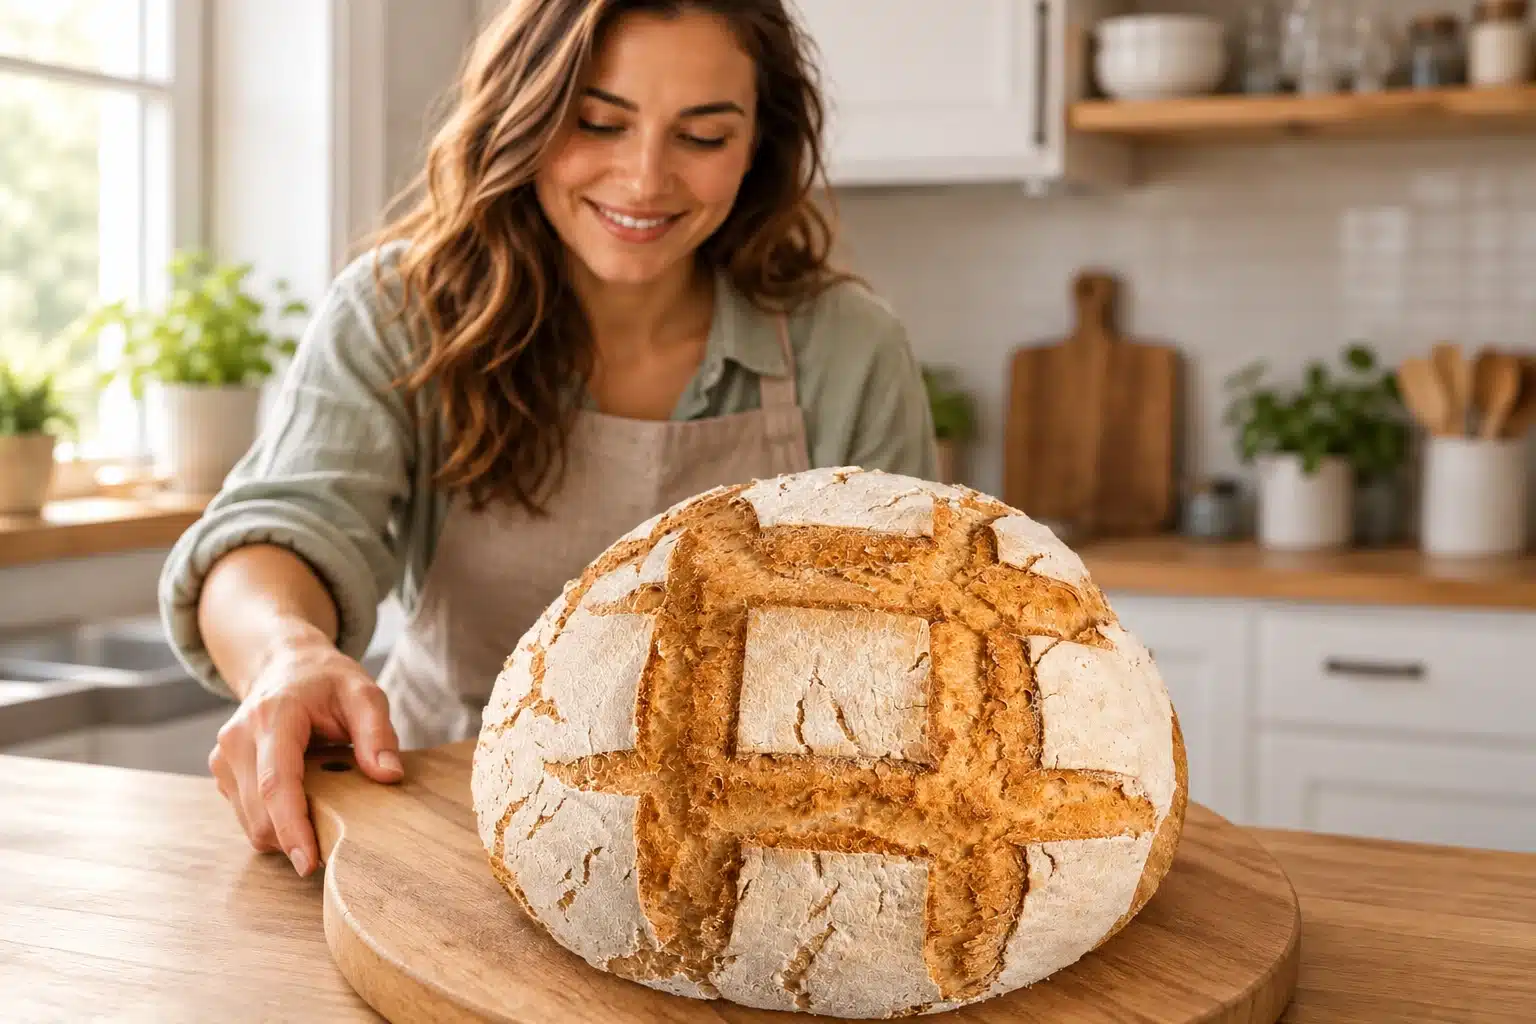
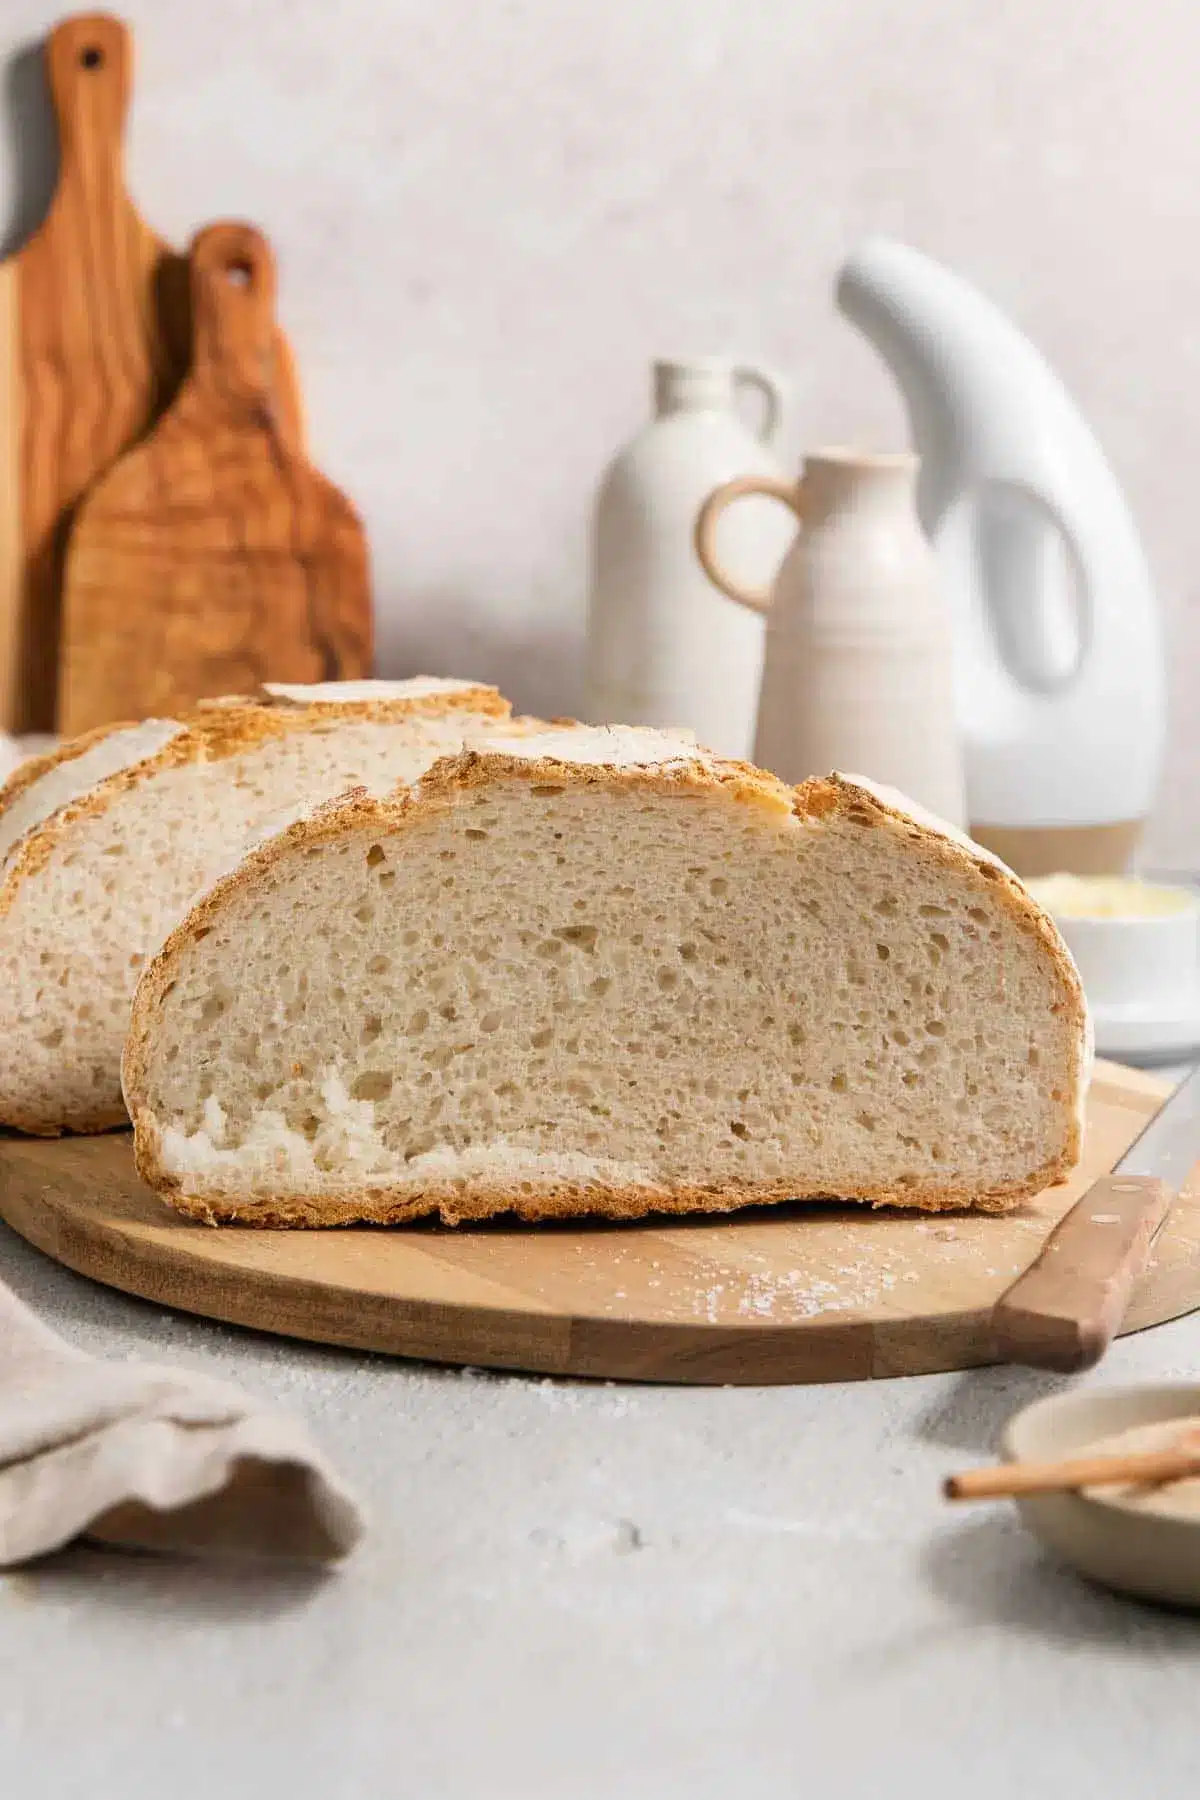
Gluten-Free Artisan Bread has a crisp, golden-brown crust with a soft, airy center and a light savory flavor with hints of olive oil. With only 5 ingredients, this is an easy gluten-free bread recipe—you just need to plan ahead for the rise and chill times.
Using the right gluten-free flour and baking the loaf in a preheated Dutch oven helps create that crusty, bakery-style exterior while keeping the inside soft and chewy. I especially like this bread warm, when the crust is crisp and the center is still tender.
Table of Contents
Why You’ll Love This Gluten-Free Artisan Bread
- Texture: Crisp, golden-brown crust with a soft, airy center.
- Taste: Savory and light with hints of olive oil.
- Simple ingredients: The bread uses only 5 ingredients.
- Easy method: The main planning comes from allowing enough time for rising and chilling.
- Bakery-style crust: A preheated Dutch oven helps trap steam and create the crisp exterior.
This gluten-free artisan bread is easy to make and works with many meals. Its sturdy crust and soft center make it useful for dipping into soups and sauces, serving alongside dinner, or simply enjoying warm.
For a complete meal, serve it alongside something hearty such as Slow Cooker Santa Fe Chicken.
Ingredients You’ll Need
Here are a few notes on some of the key ingredients used to make this gluten-free artisan bread. See the recipe card below for the exact measurements.
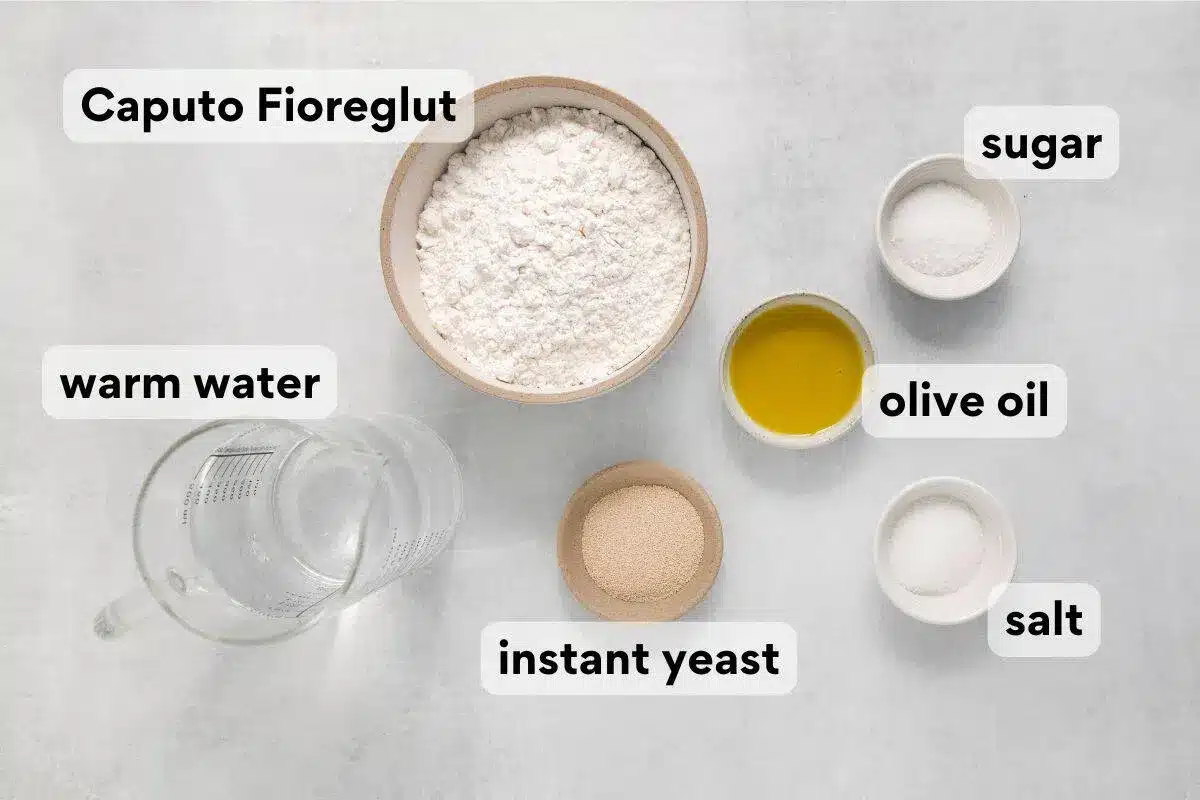
- Gluten-free flour: This recipe was developed using the specific gluten-free flour called for in the recipe. The flour blend plays an important role in the crumb and structure, so substituting another blend may change the results.
- Instant yeast: The yeast, together with the sugar and warm water, gives the bread its rise. Instant yeast is convenient because it does not need to be proofed separately before mixing.
- Olive oil: Olive oil contributes both flavor and texture. It helps keep the inside soft while supporting the crisp exterior.
The flour used for this recipe contains gluten-free wheat starch, so keep in mind that gluten-free does not automatically mean wheat-free. The FDA gluten-free labeling guidance explains how processed wheat starch may be used in foods labeled gluten-free when the finished product meets the applicable gluten limit.
How to Make Gluten-Free Artisan Bread
Here’s an overview of how to make this recipe. Use the recipe card below for the complete measured instructions.
Mix the Dough
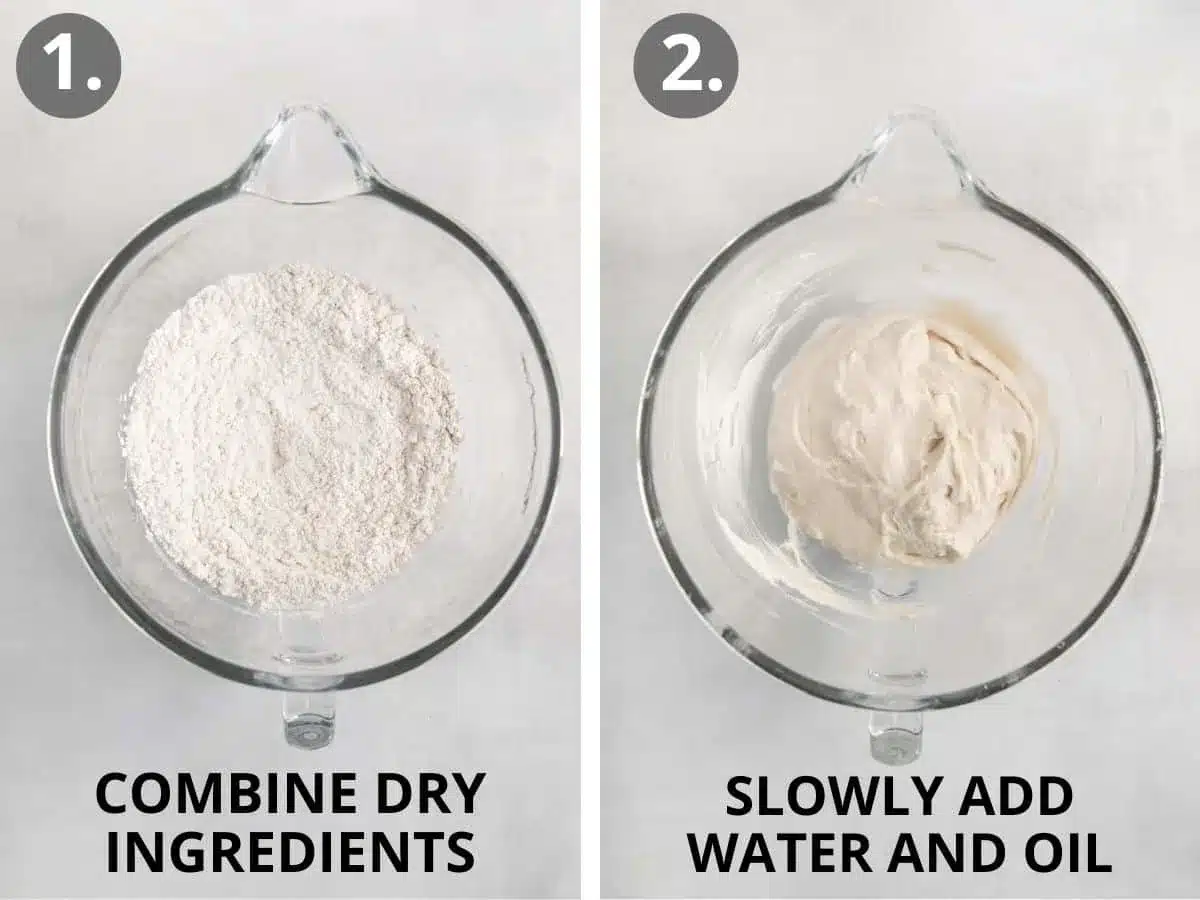
Add all of the dry ingredients to the bowl of a stand mixer and mix with the paddle attachment until combined.
With the mixer running on low, slowly add the warm water and olive oil. Increase the speed to medium-high and continue mixing for about 5 minutes. The finished dough should resemble thick cookie dough.
Use an oiled spatula to scrape down the bottom and sides, then mix again until the dough is completely combined.
Shape the Loaf
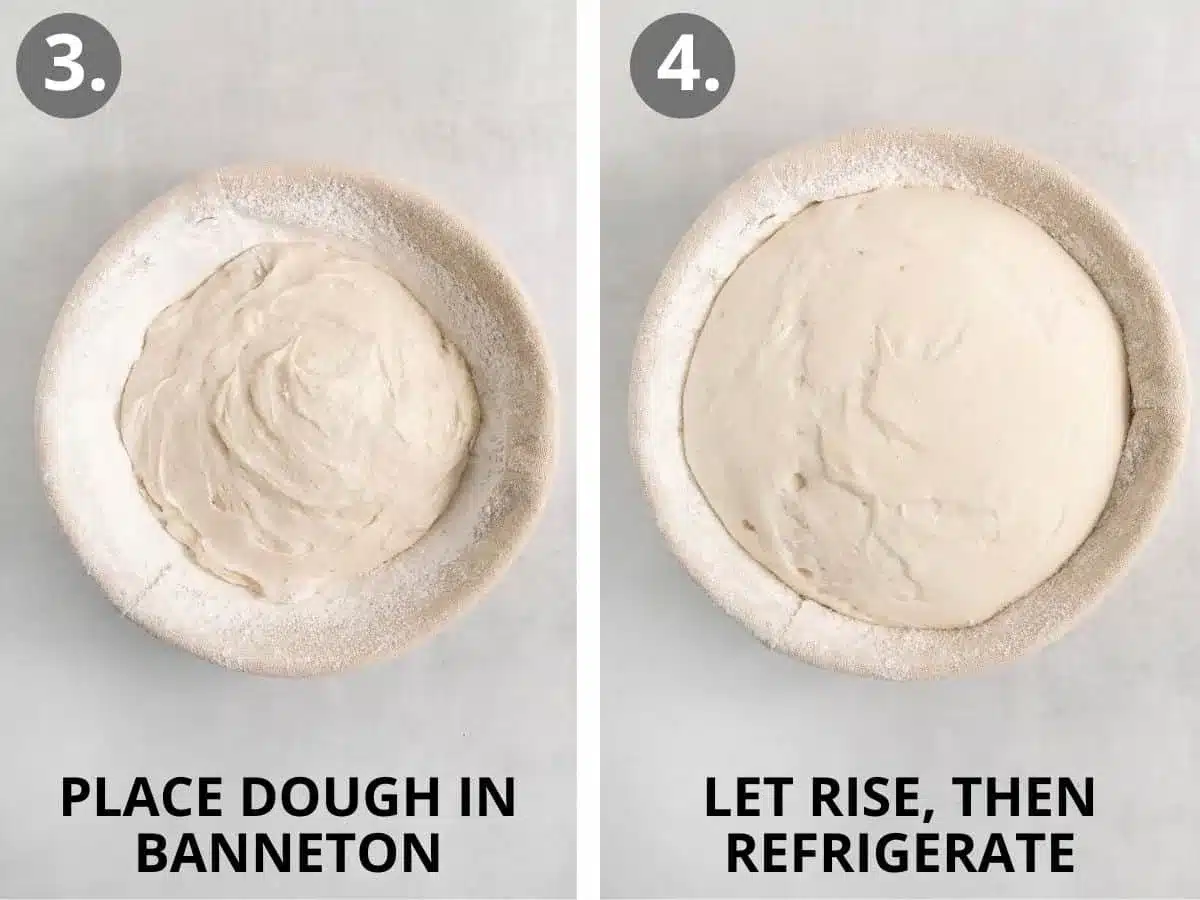
Flour a 7-inch banneton with gluten-free flour. If you don’t have a banneton, an oiled small mixing bowl can also be used.
Lightly flour a work surface and press the dough into a circle about 2 inches thick. Pull the sides upward and toward the middle to form a loaf.
Flip the loaf seam-side down and rotate it gently in place to help seal the seam. Place it in the prepared banneton seam-side up.
Rise and Chill
Cover the bowl with oiled plastic wrap and allow the loaf to rise in a warm place for about 45–60 minutes.
Once the dough has risen, refrigerate it for about 30 minutes before baking. Chilling helps the loaf hold its shape when it is turned out and scored.
Bake in the Dutch Oven
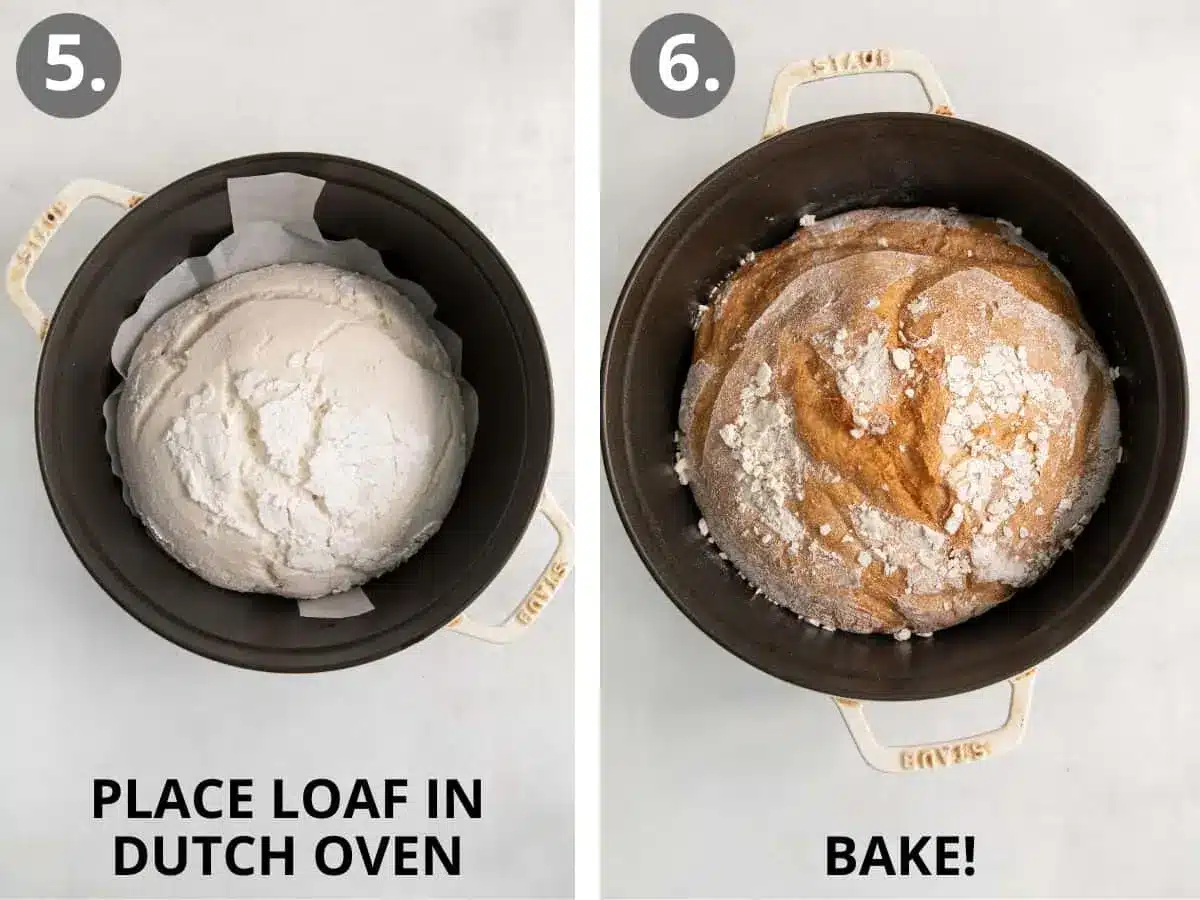
Place the Dutch oven with the lid on in the middle or lower part of the oven. Preheat the oven to 475°F and allow the Dutch oven to heat for at least 30 minutes.
Gently turn the loaf onto a piece of parchment paper and score the top with a bread lame or sharp knife.
Carefully transfer the loaf into the hot Dutch oven using the parchment paper. Add 5–6 ice cubes around the edges, then immediately replace the lid to trap the steam.
Bake covered for 30 minutes. Lower the oven temperature to 450°F and bake for another 30 minutes. Remove the lid and continue baking for another 15–20 minutes, until the crust is golden brown.
The loaf should sound hollow when tapped, and the center should reach approximately 205°F. Transfer it to a wire rack and allow it to cool for at least 3 hours before slicing.
Make-Ahead, Storage, and Freezing
Make Ahead
The dough can be prepared up to 1 day in advance. Follow the shaping and rising steps, then refrigerate the loaf for up to 24 hours rather than chilling it for only 30 minutes.
Storage
Let the bread cool completely, then store it in an airtight container at room temperature for up to 3 days.
Freezing
After the bread has cooled completely, wrap it well in plastic wrap or foil and place it in a freezer bag or airtight container. Freeze for up to 3 months.
Thaw the bread at room temperature for a few hours before serving.
Is This Gluten-Free Artisan Bread Dairy-Free and Nut-Free?
Yes. This bread is naturally dairy-free and nut-free based on the ingredients used in the recipe, so no substitutions are required for those two dietary needs.
However, anyone who also needs to avoid wheat should check the flour carefully because the flour used in this recipe contains gluten-free wheat starch.
Choosing the Gluten-Free Flour
The gluten-free flour is one of the most important parts of this recipe. The dough was developed around the specific flour called for in the recipe, and gluten-free flour blends can behave very differently from one another.
Different blends may absorb different amounts of water and contain different starches, gums, or proteins. Because of that, replacing the tested flour with another gluten-free blend is not recommended if you want the same crumb, rise, and crust shown in this recipe.
Can I Make Gluten-Free Artisan Bread Without a Dutch Oven?
The Dutch oven is an important part of this particular method. It traps the steam released during the first stage of baking, helping the loaf develop its crisp, crackly crust while supporting the structure as the dough expands.
Other pans may change both the crust and overall structure of the bread, so the Dutch oven method is recommended for the most consistent result.
Frequently Asked Questions
Do I have to use the exact gluten-free flour called for in this recipe?
For the most consistent results, yes. This Gluten-Free Artisan Bread was developed around the specific flour used in the recipe, and replacing it with a different gluten-free blend can significantly change the hydration, rise, crumb, and final structure.
Gluten-free flour blends are not automatically interchangeable, so another blend cannot be guaranteed to produce the same loaf.
Can Gluten-Free Artisan Bread be underproofed or overproofed?
Yes. Yeast dough can be either underproofed or overproofed. The suggested 45–60 minute rise is a guideline, and the actual time can shift depending on room temperature and how warm the dough is.
A cooler kitchen may require more time, while a warmer environment can make the dough rise faster. Watch the dough along with the clock rather than assuming every loaf will need exactly the same proofing time.
Do I need to cover the dough while it rises?
Yes. Keep the dough covered while it rises. This recipe uses oiled plastic wrap over the bowl.
Covering the dough helps prevent the exposed surface from drying out and forming a skin, which can interfere with expansion as the loaf continues to rise and bakes.
How do I create steam for Gluten-Free Artisan Bread?
This recipe creates steam inside the Dutch oven. After placing the scored loaf into the preheated pot, add 5–6 ice cubes around the edges and quickly replace the lid.
The enclosed Dutch oven traps that steam around the bread during the first stage of baking. Because this recipe is designed around that method, an open-pan steam setup is not necessary.
How can I tell when Gluten-Free Artisan Bread is done baking?
Look for a deeply golden-brown crust and tap the loaf to check for a hollow sound. For a more precise check, the center of the bread should reach approximately 205°F.
If the crust is browning before the center is finished, loosely shield the loaf while it continues baking rather than removing it too early.
Why does Gluten-Free Artisan Bread take so long to cool?
The loaf should cool for at least 3 hours before slicing. The interior continues to set as it cools, and cutting it too early can compress the crumb or make the center appear gummy even when the bread has been properly baked.
Can I prepare the dough the day before?
Yes. After the dough has been mixed, shaped, and risen according to the recipe, it can remain refrigerated for up to 24 hours before baking.
Can I freeze Gluten-Free Artisan Bread?
Yes. Cool the loaf completely, wrap it well, and freeze it in an airtight container or freezer bag for up to 3 months. Let it thaw at room temperature before serving.
Recipe Card
Use the recipe card below for the complete measured ingredients and full step-by-step instructions.
PrintGluten-Free Artisan Bread (5 Ingredients!)

Do you eat gluten-free and miss crusty artisan bread? You’re in the right place! This EASY gluten-free bread recipe delivers a loaf that is crusty on the outside and soft and chewy on the inside. The magic comes from using Caputo Fioreglut Flour and baking it in a Dutch oven.
- Prep Time: 15 mins
- Cook Time: 75 mins
- Total Time: 165 mins
- Yield: 8 1x
- Category: Bread
- Cuisine: American
Ingredients
- 4⅓ cups (650g) Caputo Fioreglut Flour
- 1 tablespoon kosher salt
- 1 tablespoon granulated sugar
- 2¼ teaspoons instant yeast
- 2 cups + 2 tablespoons (510ml) water, ( warm)
- 3 tablespoons olive oil
Instructions
- Make the Dough: In the bowl of a stand mixer fitted with the paddle attachment, add the Caputo Fioreglut flour, salt, sugar and instant yeast. Mix to combine.
- With the mixer running on low, slowly add the water and olive oil. Increase the speed to medium-high and mix for 5 minutes. The dough will resemble thick cookie dough, this is normal.
- Using an oiled rubber spatula, scrape down the bottom and sides of the bowl and mix again until well-combined.
- Shape/Rise: Flour a 7-inch banneton with gluten-free flour. (You can also use a small oiled mixing bowl.)
- Scoop the dough out onto a lightly floured surface. Press the dough into a 2-inch thick circle. Pull the sides upwards, then towards the center of the circle to form a loaf. Flip the loaf seam side down onto the floured surface and rotate in place to seal the seams.
- Place the loaf into the banneton seam side facing upward. Cover with oiled plastic wrap and let rise in a warm place for 45-60 minutes.
- Once the dough has risen, place it in the refrigerator for 30 minutes before baking. (This helps the bread hold its shape.)
- Bake: Place a Dutch oven with the lid on in the middle/lower rack of the oven. Preheat the oven to 475°F. Allow the Dutch oven to preheat for at least 30 minutes.
- Gently turn out the loaf onto a piece of parchment paper. Using a bread lame or sharp knife, score the top of the loaf.
- Carefully remove the hot Dutch oven from the oven. Using the parchment paper, carefully place the scored loaf in the Dutch oven, add 5-6 ice cubes around the edges and quickly replace the lid to trap the steam.
- Bake the bread covered for 30 minutes, then reduce the oven temperature to 450°F and continue baking for another 30 minutes.
- Remove the lid and bake uncovered for another 15-20 minutes, or until the crust is golden brown and the loaf sounds hollow when tapped. (For a more accurate test of doneness, the bread is done when an instant-read thermometer inserted in the center reads above 205°F.)
- Remove the bread from the oven and turn out onto a wire rack. Let the bread cool for at least 3 hours before slicing. This is important so the crust develops properly. Slice and enjoy!
Nutrition
- Calories: 287 kcal
- Sugar: 2 g
- Sodium: 877 mg
- Fat: 6 g
- Saturated Fat: 1 g
- Carbohydrates: 55 g
- Fiber: 2 g
- Protein: 4 g
Keywords: artisan bread recipe, caputo fioreglut, crusty bread, gluten-free artisan bread, yeast bread